- Age of the House: If the house was constructed before 1978, there’s a higher likelihood of lead-based paint being used.
- Chipping, Peeling, or Chalking Paint: Lead-based paint tends to chip or peel, forming a powder that can be hazardous, especially if ingested or inhaled.
- Cracked or Damaged Surfaces: Any damage to surfaces painted with lead-based paint can release lead dust.
- Dust and Debris: Lead-based paint can degrade into dust over time. Look for dust accumulation, especially around windowsills, doors, and other friction areas.
- Sweet or Metallic Smell: Sometimes, lead-based paint has a faint sweet or metallic odor.
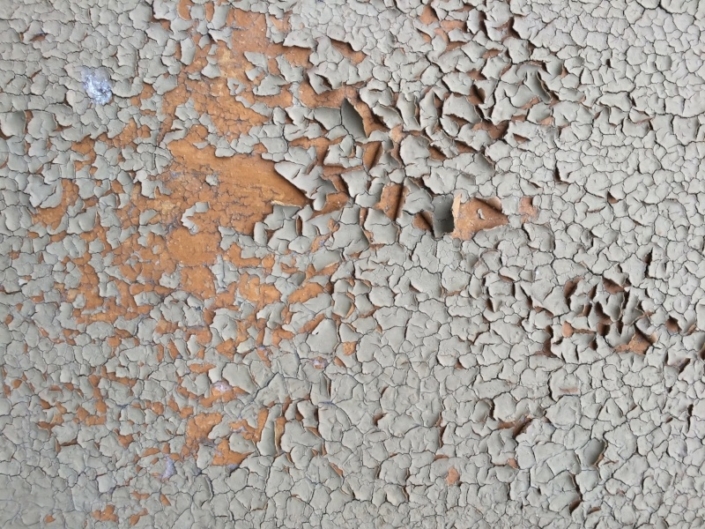
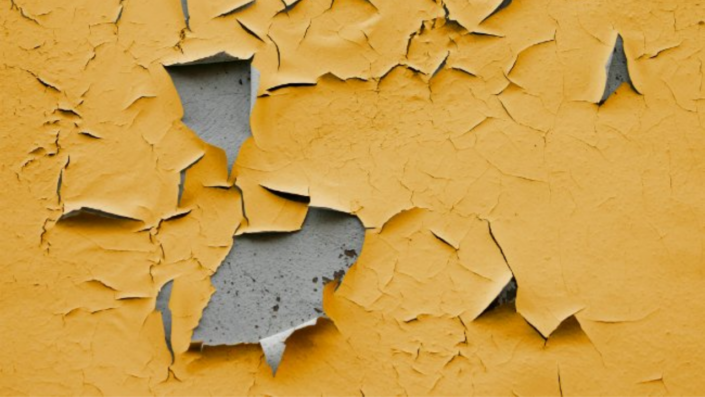
The two pictures above show cracked paint. How can you know one is lead-based paint cracking and the other is cracking from moisture?
That is a great question. The only real way to know is to test. You can purchase an over-the-counter test and do it yourself. Nothing wrong with that. You can also hire a professional, like us, who is familiar with testing and have them perform the testing for you.
Once you have your results, you will know how to handle things while you are remodeling your new space.
Now, let’s assume that you’ve had your new home tested. What do you need to know about renovations on a home that has tested positive for lead-based paint?
Here are a few things to consider when selecting a contractor:
Remodeling or renovating a home with lead-based paint requires careful precautions to prevent exposure to lead dust. Here are some essential precautions:
- Containment and Isolation: Seal off the work area using heavy plastic sheeting to prevent lead dust from spreading to other parts of the house. Use zipper doors or plastic flaps to create an entry and exit point.
- Personal Protection: Workers should wear appropriate personal protective equipment (PPE) such as disposable coveralls, gloves, goggles, and respirators with HEPA filters.
- Wet Methods: Use wet methods, like misting surfaces before sanding or scraping, to keep dust levels down.
- HEPA Vacuums: Use HEPA vacuums to clean up any dust or debris. Standard vacuums can spread lead dust rather than collect it.
- Work Practices: Avoid dry scraping, sanding, or using heat guns as these methods can create a significant amount of lead dust. Instead, use chemical strippers or methods that minimize dust production.
- Cleanup Procedures: Thoroughly clean the work area daily and at the end of the project. Use wet mops and disposable cleaning cloths. Dispose of all materials, including used cleaning materials, in heavy-duty plastic bags.
- Proper Disposal: Dispose of lead-contaminated debris according to local regulations. This might involve contacting a hazardous waste disposal service.
- Certified Contractors: Hire professionals certified in lead-safe practices for renovations involving lead-based paint. They should follow Environmental Protection Agency (EPA) guidelines for lead-safe work practices.
- Testing and Verification: After the work is completed, conduct a clearance test to ensure that lead dust levels are below safety standards. This test should be performed by a certified inspector.
- Minimize Occupancy: If possible, relocate occupants during renovation, especially children, pregnant women, and pets, as they are more vulnerable to lead exposure.
Always prioritize safety when dealing with lead-based paint during renovations. It’s crucial to follow proper procedures to minimize the risk of lead exposure to yourself, your family, and any workers involved.
For more information regarding Lead in your home, check out the EPA Resources here: EPA – Lead

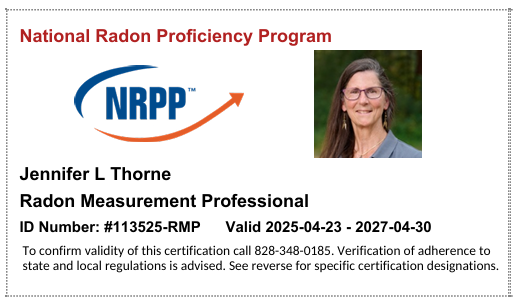
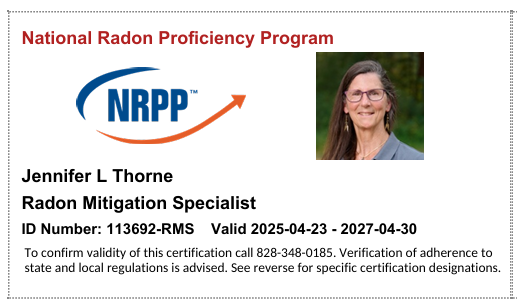
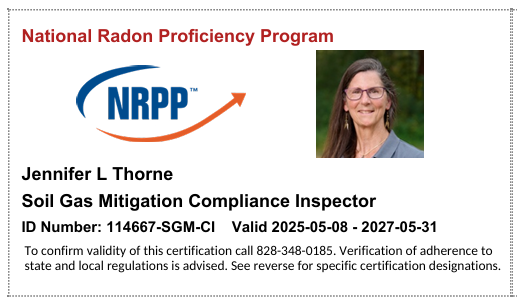
 Committed to Your Safety and Peace of Mind – Jennifer Thorne Testing Services Manager | IAC2 Certified for Mold & Radon | NRPP Certified: 113525-RMP, 113629-RMS | DEQ Meth Certified: MCP-0146-C





Safe Home Environmental, LLC provides quality home testing services in and around Western Montana including Missoula, Ravalli, Granite, Powell, Silverbow, Lake & surrounding areas.
SAM# H5PSPWG77DV3